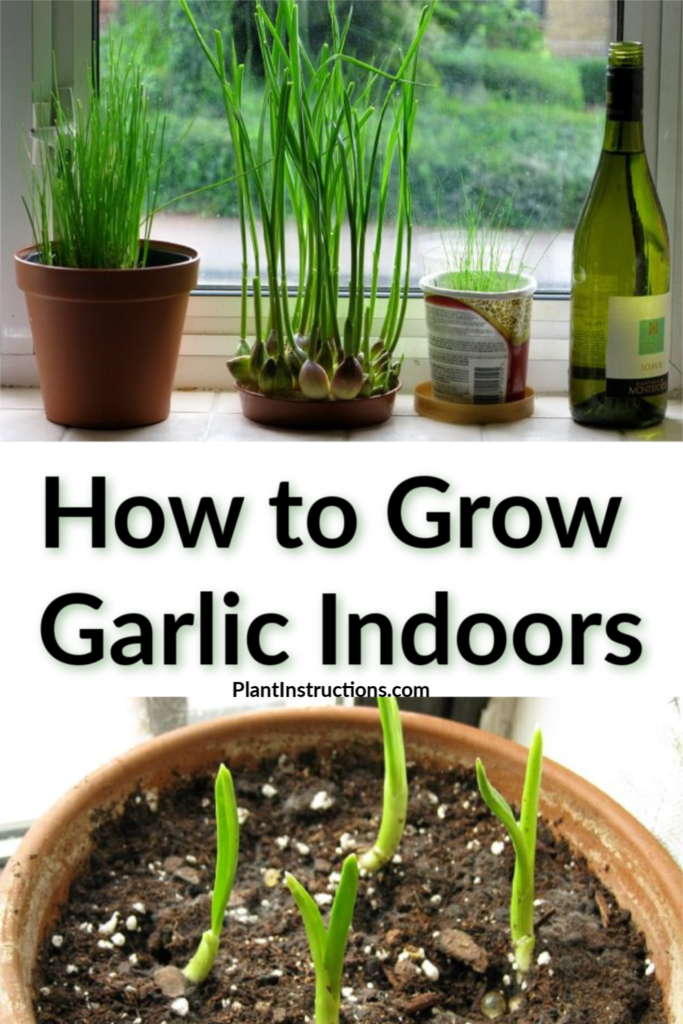
Can you grow garlic indoors? The answer is yes, you definitely CAN grow garlic indoors. Growing garlic indoors is so easy that even beginner gardeners can master it! In this post, we will be telling you all about growing garlic indoors so you can enjoy this wonderful vegetable right from the comfort of your own home.
Indoor gardening is ideal because you can start growing at any time of the year. There aren't any weather problems that can interfere with your plant and you can control all the elements. Growing garlic indoors allows you to enjoy the bulbs and also the greens which you can use to garnish your meals!
How to Grow Garlic Indoors – A Guide
#1. Choosing the Container
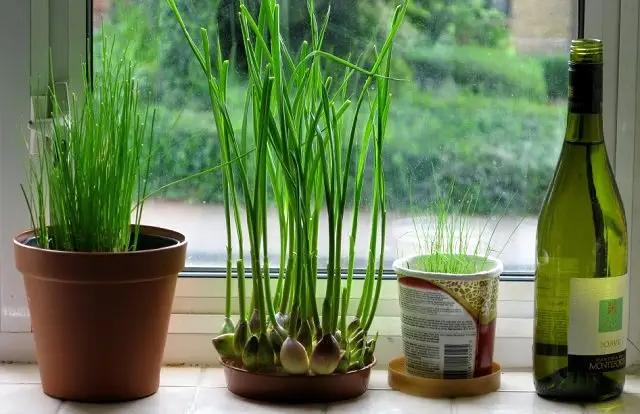
When it comes to choosing a container to grow garlic you need to consider a few things. If you are growing various cloves in one pot, you will need a big enough pot to give each clove a 4 inch gap. The container needs to be deep enough to allow the roots to grow, produce green leaves, and allow the bulbs to grow.
A 8-12 inch deep pot will be ideal to plant your garlic. Make sure this pot has good draining holes. You can use almost any container you want as long as it allows for good drainage. For pots that don't come with holes, you can easily create them with the right tools. Simply use a drill to make a few holes at the bottom of the bottom.
#2. Choosing the Right Soil
You need to provide your garlic plant with the best conditions since it can be very hard for them to grow in containers. Avoid using soil from the garden and instead, use a rich soil.
Choose soil that is permeable and well-draining. Purchase a soil-less potting medium that will allow excess water to drain and prevent rotting. You can also make your own soil-less potting mix, mixing coconut fiber or peat, manure or compost, and vermiculite or perlite. This mix will help to retain moisture.
#3. Preparing the Pot Before Planting
Now that you have your pot, it’s time to fill it with the rich soil. At this point, you can also mix the soil with some granular fertilizer such as 10-10-10. Fill your container with soil almost to the top and then water the soil in the pot to help settle it down.
It’s important to give it a good watering before planting the cloves to make sure the container is draining well. When you are watering keep an eye on the holes in the bottom to make sure the water is draining well.
#4. Planting the Garlic Cloves
Purchase organic garlic bulbs from your local nursery or online, making sure it's good quality. 1-2 days before planting, break apart the bulbs, making sure to keep the husk to see the individual cloves. You will want to choose the largest cloves because these will have the best chance of sprouting when planted.
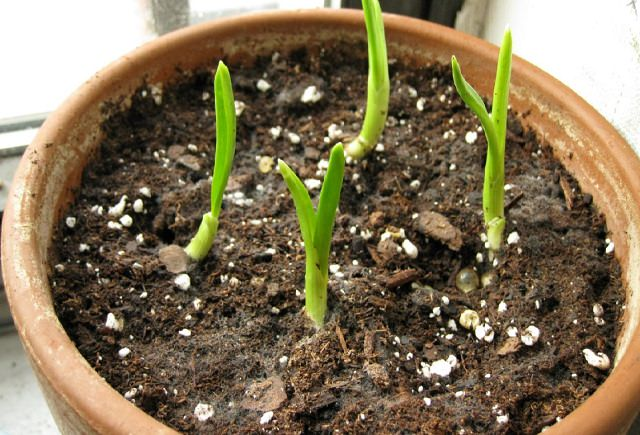
In your potted soil, make a hole of about 5 inches apart and 2-3 inches deep. Try not to plant more than 3 garlic cloves per container as they need enough space for the roots to grow well.
Place the clove in the holes with its flat end pointing down in the soil since that is where the roots come from. Bury the cloves with the potting mixture on top. Don't place more than one clove per hole as this will result in no growth at all. Gently pat the soil burying the clove to settle it down.
Place the pot in a sunny location and water the pot thoroughly until you see the excess running out of the drainage holes. This will help the mixture settle on top of the garlic to hydrate them and help the sprouts come out.
#5. Providing Adequate Light
In order for your plant to grow successfully, you will need to provide them with at least 6-8 hours of sunlight per day. To do this, have them in a west or south-facing window that gets plenty of sunlight. You can also place the container near a windowsill or anywhere it will receive at least 6 hours of direct sunlight a day.
If you don't have a sunny window or any space indoors with direct sunlight coming in, don't worry. You can always use fluorescent lights or indoor grow lights to help your plant grow. Grow lights can be super easy and effective to use.
#6. Watering
Garlic likes its soil damp, not soaked, so make sure to not soak them when watering. The amount of water and how often you should water will depend on the conditions around the plant like temperature, sunlight and humidity. During sunny and warm weather, water your garlic plant 2-3 times a week.
Water regularly until you see the excess coming out of the drainage holes and always make sure not to over-saturate the plants.
#7. Fertilizing
Indoor garlic requires a good amount of fertilizer to thrive well. Fertilize once or twice a month during the warm season using a fish fertilizer, kelp meal, or an organic general-purpose fertilizer.
You can also use a diluted organic fertilizer. Just add it to the water you give to the plant to ensure they have enough nutrients.
#8. Harvesting Garlic
When it comes to garlic, you will have to do two different harvests since you can harvest the greens as well as the bulbs.
Harvesting the Garlic Greens:
- Wait until the greens are about 4-6 inches to harvest.
- Once the greens reach 4-6 inches, trim the greens at the base with scissors leaving 1 inch of growth.
- For the next six months keep cutting the greens to allow the plant to focus more on growing the bulb.
- Use the freshly harvested greens as a garnish in your kitchen!
Harvesting the Garlic Bulbs:
- Garlic bulbs will be ready to pick after 8-10 months.
- When you notice the greens start to turn brown and die, it's time to harvest.
- Gently pull the bulbs out of the soil and clean any excess.
- Hang the bulbs in a dry room to cure. They can take 2 to 3 weeks to completely dry or cure.
- Once your garlic is dry, use them as desired.
Like this post? Pin, share and comment below 🙂
