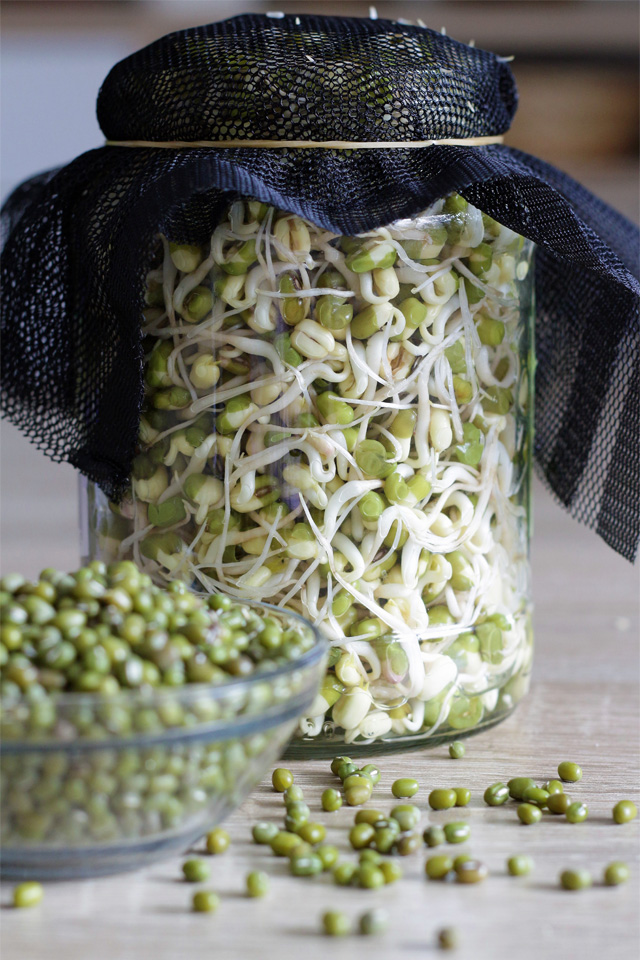
Mung bean sprouts are commonly found in Asian stir frys, and they're known for their delicious nutty and crunchy taste and texture! Mung bean sprouts are usually found in superstores as “bean sprouts”, but why even buy them when they're actually SUPER easy to sprout? If you're interested in learning how to sprout mung beans, keep reading this easy to follow gardening guide and have sprouts in as little as 1 or 2 days!
How to Sprout Mung Beans – A DIY Gardening Guide

Step 1: Rinse
Start off by rinsing 1 or 2 cups of mung beans. Do this to remove any dirt, metals, or toxins. Rinse off the beans until the water runs clear. Start off with 1 or 2 cups of mung beans only as they tend to grow much bigger once they sprout!
Step 2: Soak
Place your cleansed beans in a large, clear bowl. Pour enough colder water to completely cover the mung beans. This will usually be around 2-3 times the volume of the beans. Soak for 6-12 hours or until the beans start to swell – this will usually be around 8 hours.
Step 3: Rinse Again
Drain the excess water, and rinse the mung beans again. Repeat twice to make sure the beans are nice and clean!
Step 4: Jar Them
Place the swollen beans in a jar and cover that jar with a piece of cheesecloth. Tie a rubber band or a piece of twice around the mouth of the jar.
Step 5: Place in a Cool, Dark Place
Find a place that will get little to no sunlight, such as a closet or a pantry, and place your jar with beans there.
Step 6: Rinse and Drain
For the next 2-5 days, drain and rinse your mung beans twice a day. Do this by filling the jar up with water, and draining it through the cheesecloth. After draining and rinsing, place the jar back in its original dark place. How long you do this for all depends on how sprouted you want your beans to be!
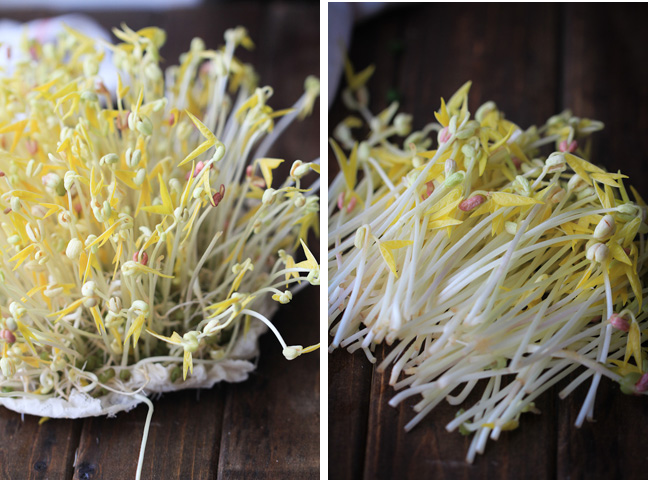
Once the beans have sprouted to your desired length, you can go ahead and add them to salads, sandwiches, stir frys, or just eat them on their own!
Like this post? Share and Pin 🙂


